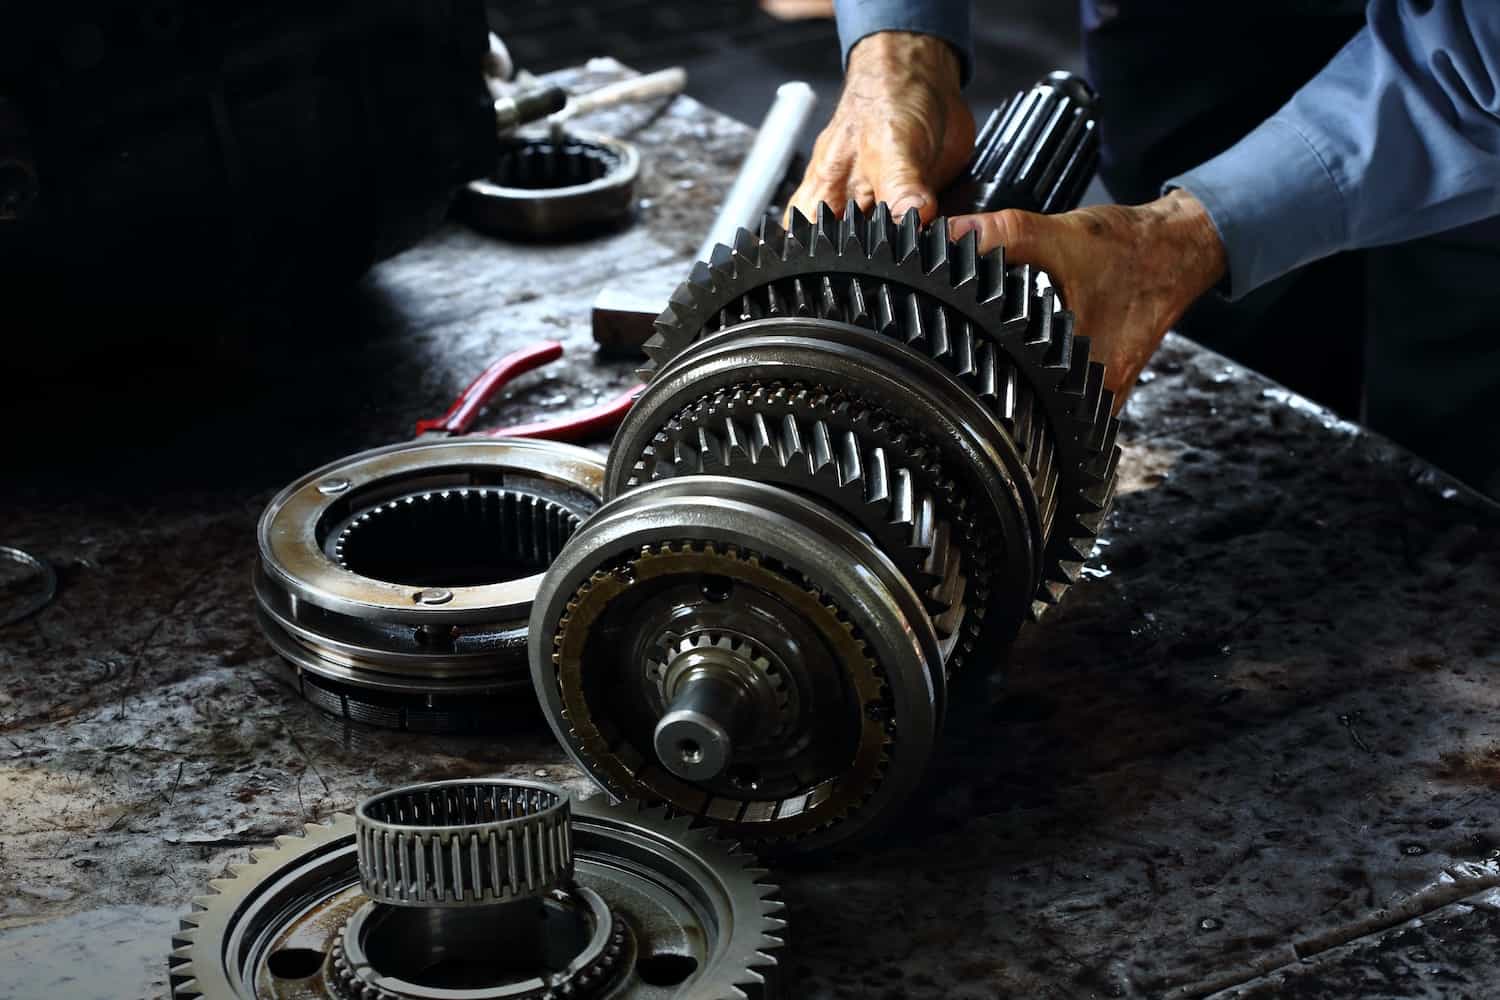
If you’ve read our blog on the signs it’s time for a used replacement transmission and determined you need a new one, then this blog will be useful as you begin the transmission installation process. Here is part 1 or our Houston salvage yard’s detailed guide to DIY transmission removal.
Tools You’ll Need
- Ratchet
- Socket set
- Extensions
- Universal joint extension
- Wrenches
- Torque wrench
- Breaker bar
- 12-inch jacks + jack stands
- Drain pan
- Transmission jack
- Transmission fluid
Steps for Removing Your Old Transmission
1: Safety First
Using your jack stands, raise the car about 24 inches high. Place them under the sides of the transmission so as to create space for the transmission jack later. We also recommend you place a ramp or something similar underneath the front tires, as well as a jack under the cross-member for further support. All of this ensures that, if your transmission bumps anything, your car won’t fall on top of you.
2: Battery
Open the battery cover and unscrew the clamp. Then, slide the cable off of the battery post. Set it aside so you make sure it doesn’t touch the post.
3: Shifter
We recommend you remove the shifter now, as doing so keeps things from getting greasy and messy inside the car. You do this by unscrewing the shifting knob and then removing it. Next, remove the shifter trim by prying it upwards and sliding it off. Now you can unscrew the nuts holding the shifting lever so you can also slide it off. At this point, you should see the shifter boot. Remove the 4 bolts holding it in place, followed by the shifter. This will aid in pouring in the transmission fluid later.
4: Exhaust
Not all cars require exhaust removal, so it helps to check how your transmission and exhaust pipes are laid out. If you do need to remove it, start with disconnecting the oxygen sensors from the downpipe. Next, disconnect the wiring harness, since this is easier than unscrewing each sensor. Simply press on the clip and pull the harness apart. Now, remove the nuts that hold the pipes with an 18mm socket from top to bottom. A universal socket will also work. Afterward, use a ratcheting wrench to remove the bolts behind the x pipe. Separate the exhaust pipes and set aside.
TIP: Spraying the exhaust fasteners with penetrating fluid will make this job easier.
5: Transmission Fluid
Now it’s time to drain the fluid. Doing so before removing the transmission will make it lighter and easier to remove. To drain it, place the drain pan underneath and use the box end of a 3/8 ratcheting wrench to open the drain plug. Be sure to screw the drain plug back in, but not too tightly.
6: Driveshaft
Ensure your car is in neutral and then turn the driveshaft so you can see 2/4 of the bolts. Set the parking brake and then use a 12 point wrench or socket to remove the bolts. Once removed, release the brake and turn the driveshaft again so you can see the other bolts. Re-engage the parking brake and then remove the bolts. Now you can easily slide the driveshaft out. Place the drain pan underneath the transmission just in case more fluid spills out.
TIP: If a driveshaft bolt is really tight, you can heat up the metal around the bolt to loosen it. You may also consider using a longer wrench for more leverage.

