.png)

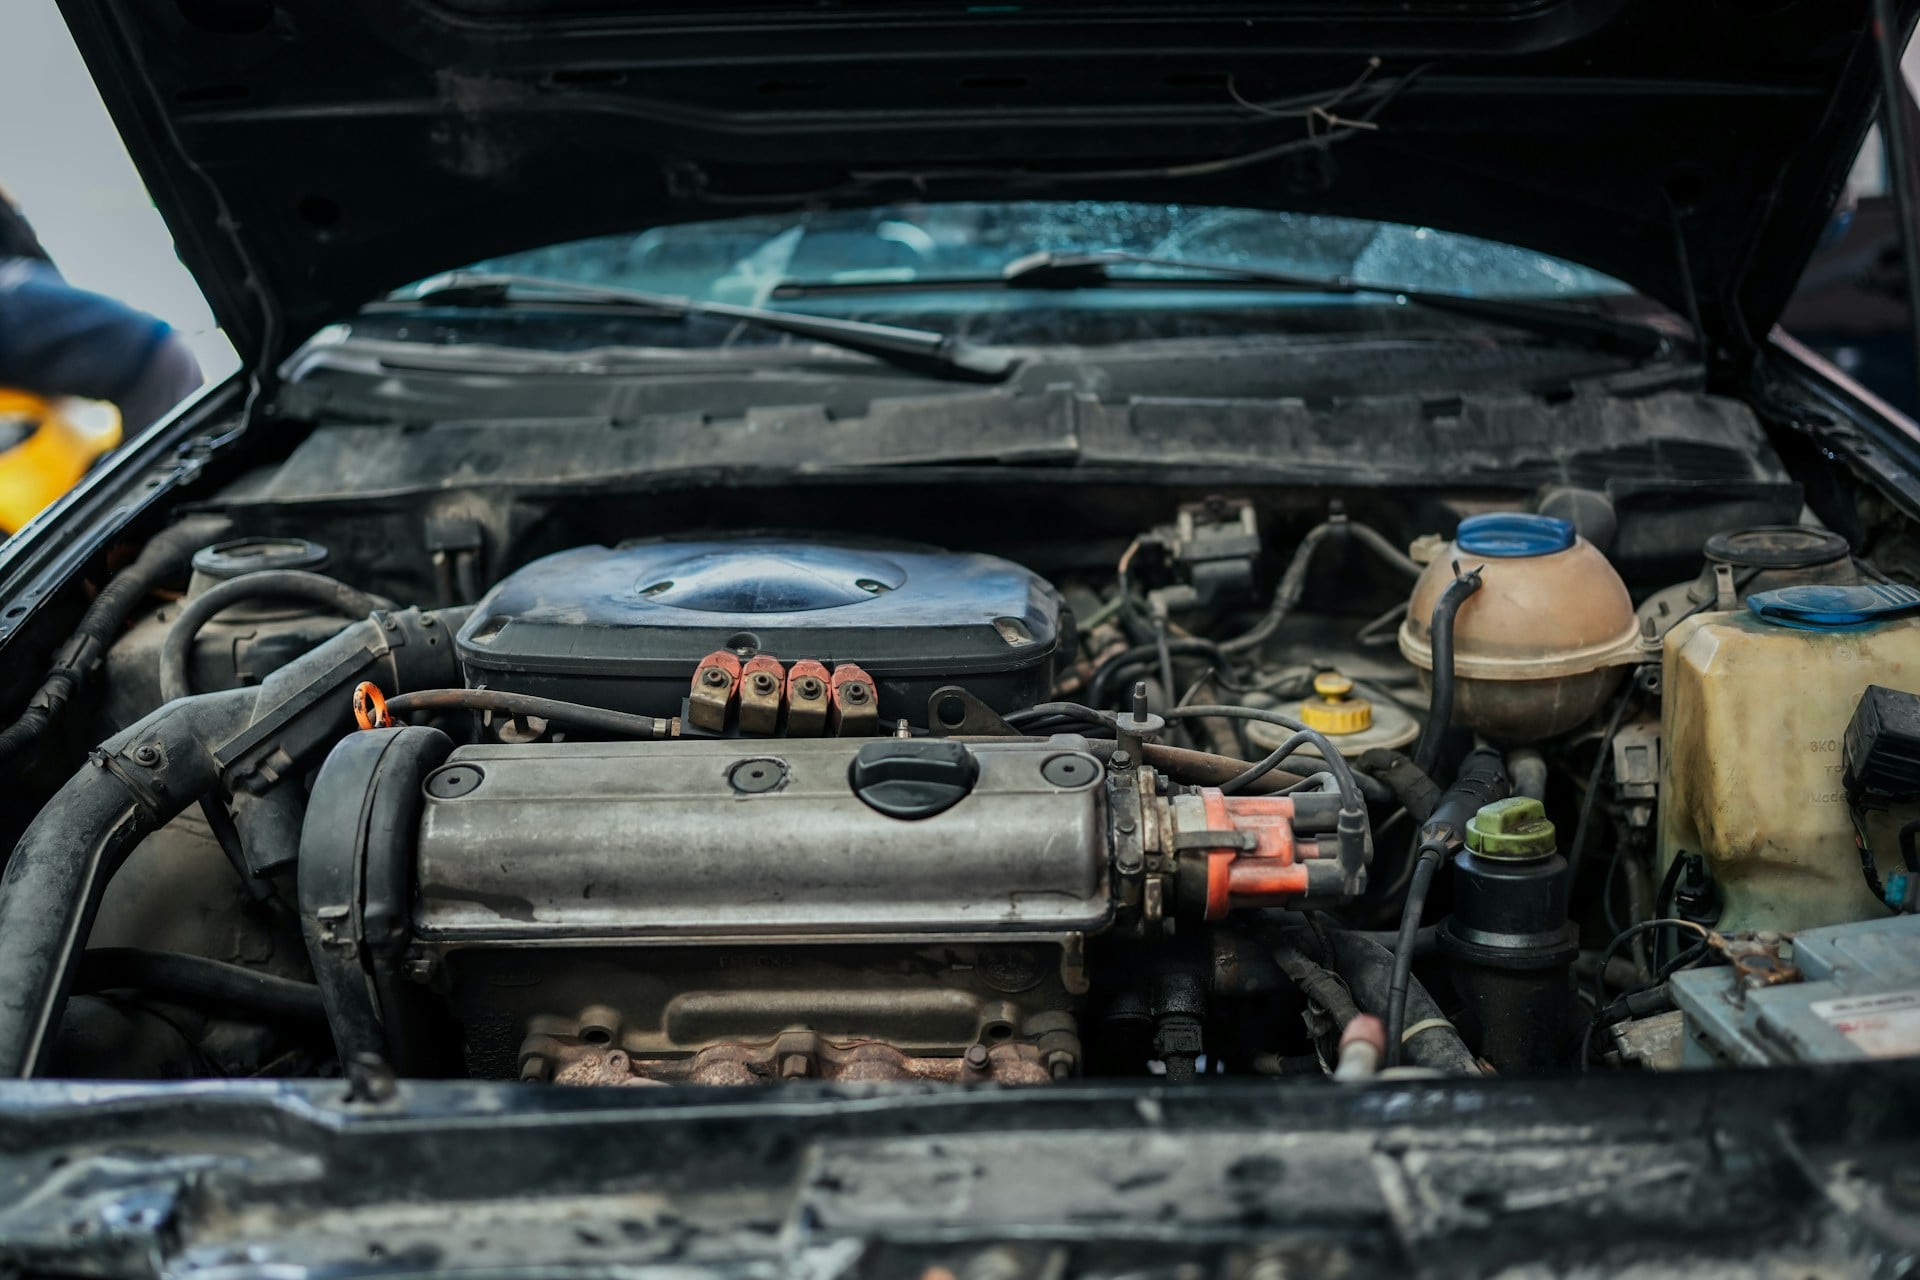
Spring is a great time to inspect the parts you’ve collected for your car, especially if they came from a salvage yard. After pulling components, many drivers don’t clean them right away, but it’s smart to take care of them before installation. Dirty or greasy salvage parts can wear out faster, slip during assembly, or cause performance hiccups down the line.
We’ve noticed that as temperatures rise in Houston, Texas, more car owners are taking the time to wipe away rust, grime, or oil buildup before installing their parts. Knowing how to clean safely at home not only brings better results but keeps your workspace cleaner and helps you spot damage early. If you’re working with salvage car parts in Houston this spring, here’s what to know before firing up the hose or grabbing a wire brush.
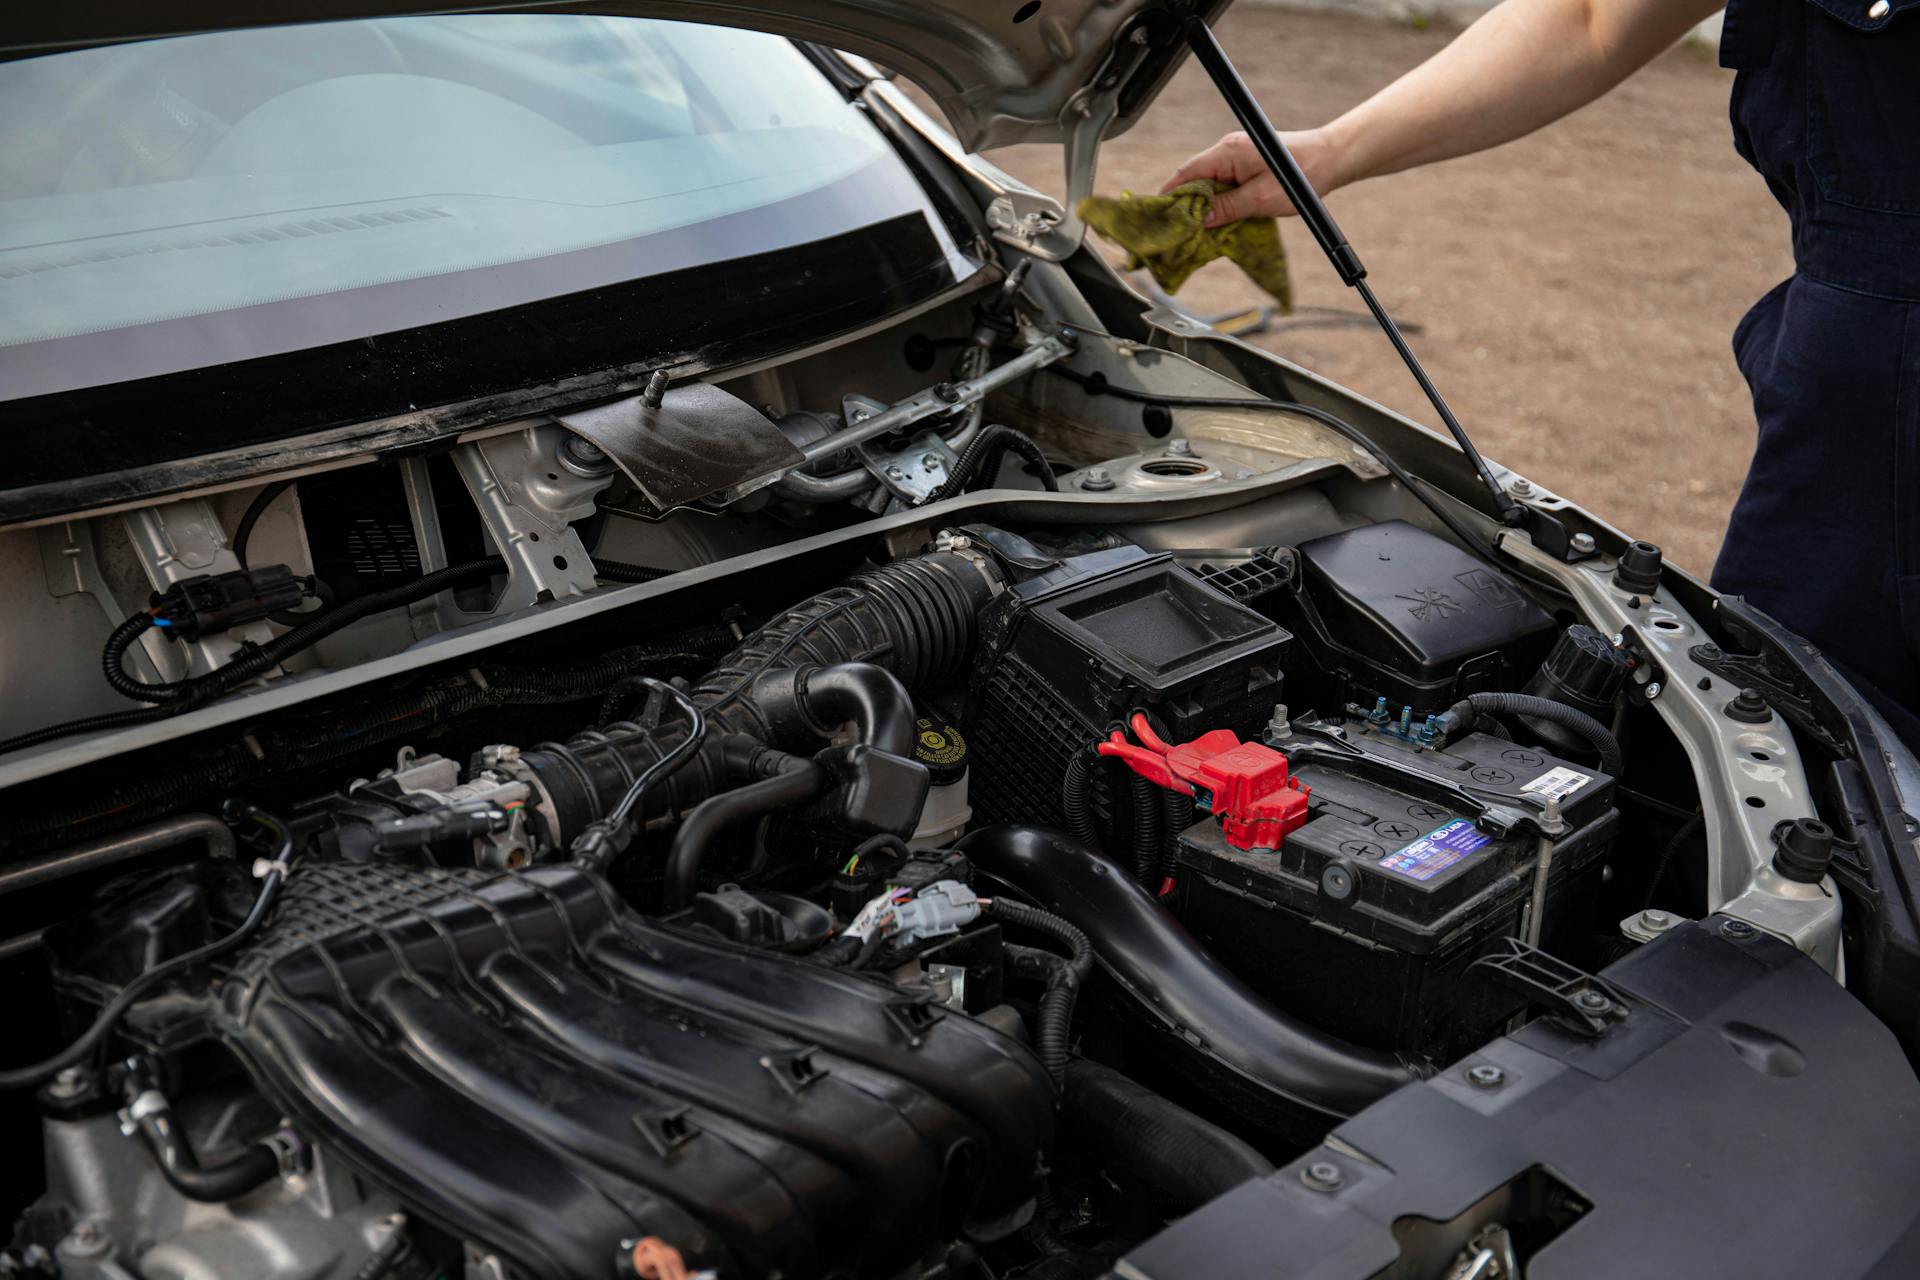
Every part is different, and materials matter more than you might expect. Before you begin cleaning anything, check what it’s made of.
Electrical parts should never be cleaned like regular mechanical ones. Wipe them gently with a soft, barely damp cloth or use compressed air to get into crevices. If you’re not totally sure what the part should look like when clean, search for a reference image so you don’t damage something by over-scrubbing.
Cleaning outside is a good option as long as the weather is clear and it’s not too windy. Spring in Houston brings warmer days, so avoid working outside during peak heat. A covered carport or garage with windows open works best for airflow.
You don’t need anything special to clean salvage parts. Here’s a short list of what helps:
Designating one area for cleaning helps keep grease and chemicals away from the rest of your garage or driveway.
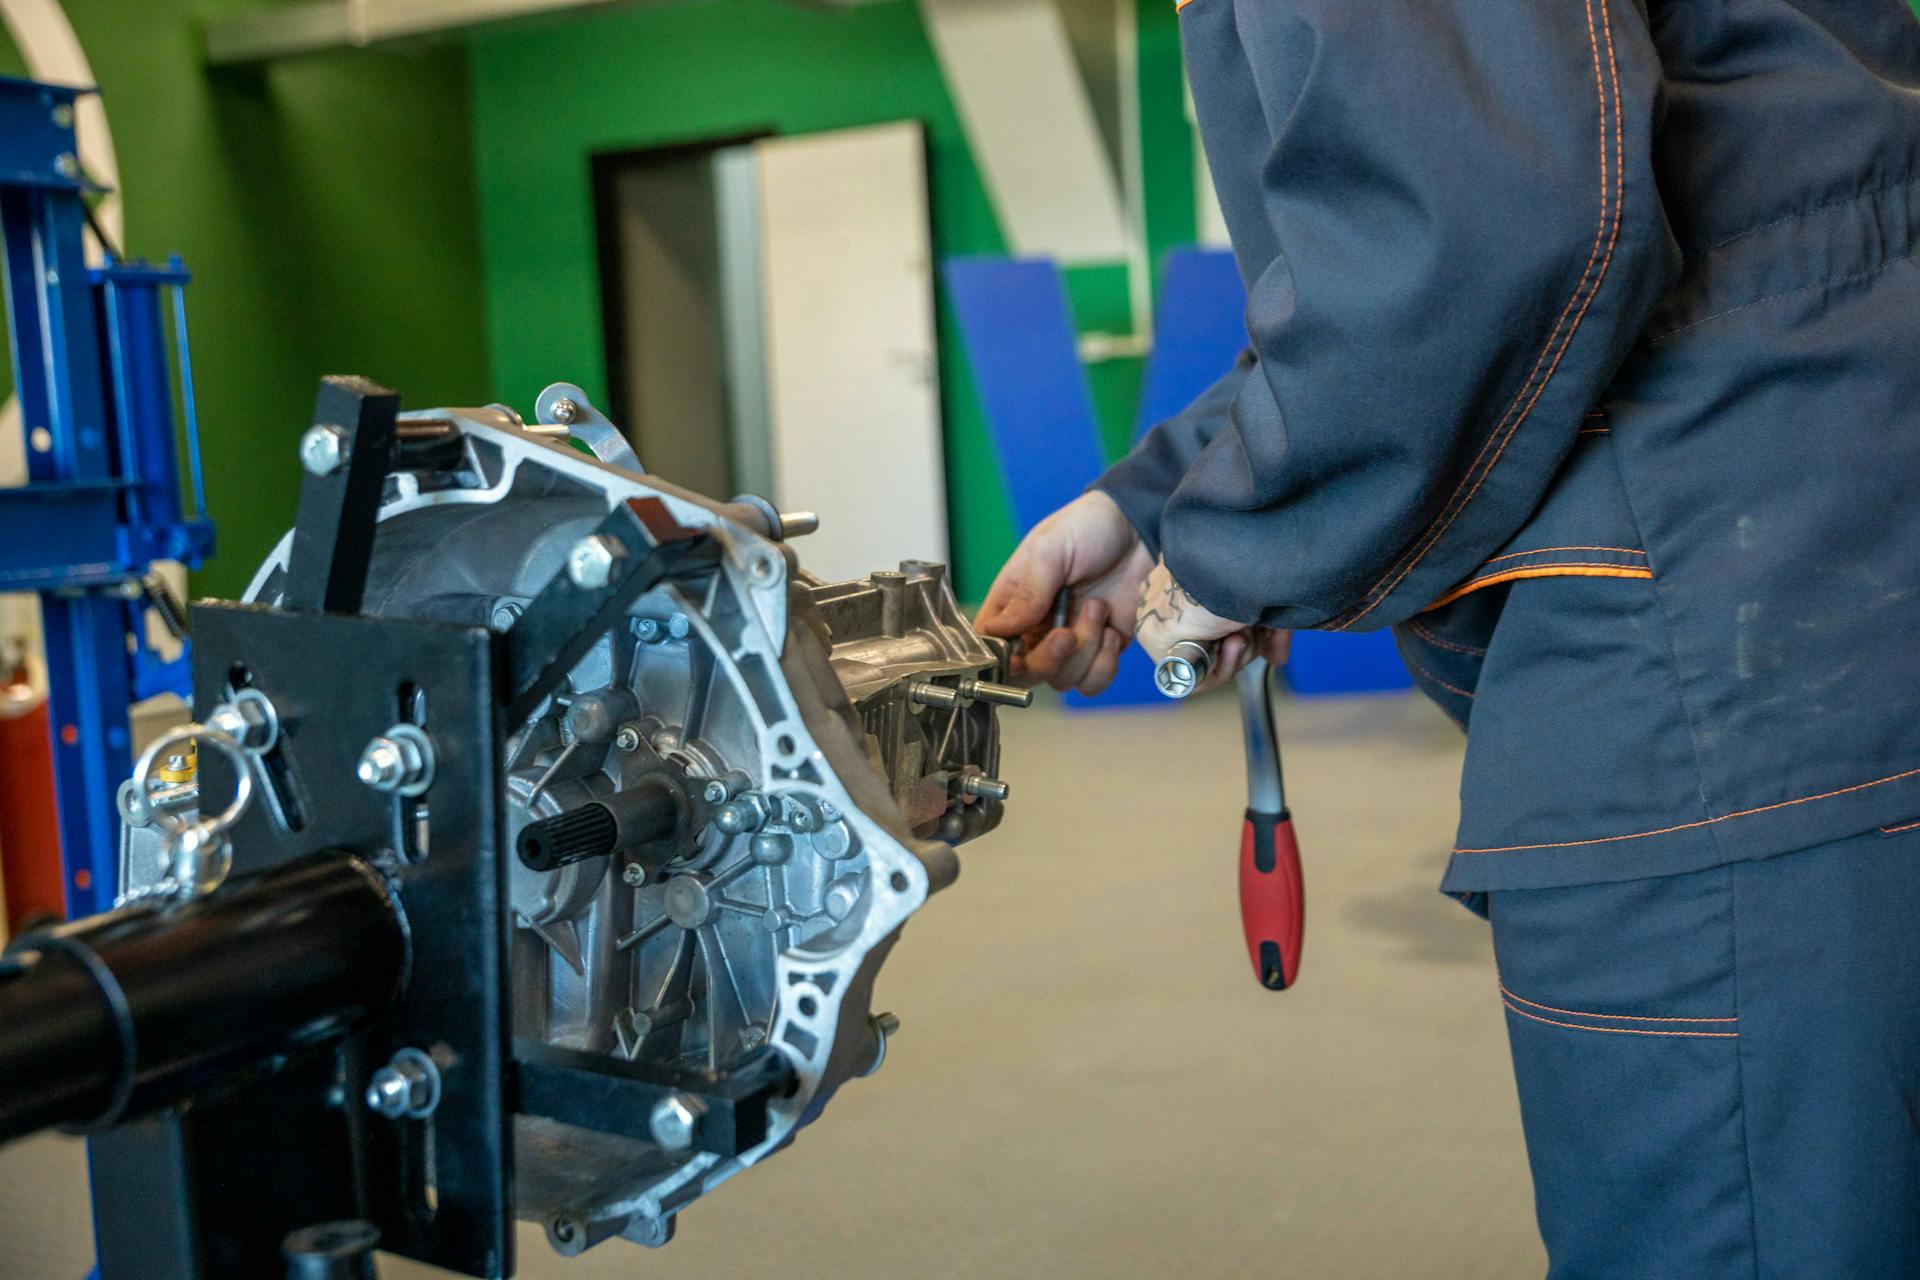
Every part should be handled based on its use and condition, but most follow the same general process.
The goal is a part that’s clean enough for handling and installation, not a showpiece. Stop once the surface stops producing dirt and looks free of buildup.
It’s tempting to grab the strongest cleaner you’ve got, especially if the part looks beyond dirty. But that can cause more harm than you might think.
Avoid these when working on salvage car parts:
If you’re unsure, test a tiny corner of the part first to see how it reacts before going all in.
Once your parts are scrubbed and fully dry, keep them away from moisture and sunlight. Both will shorten the life of rubber, fade plastic, or cause rust to return.
Storage is often where things go sideways for people. Here’s how we handle it:
If you’re keeping parts in the garage, raise them up off the floor to avoid puddles or insects. Clear bins make it easier to find what you need next time.
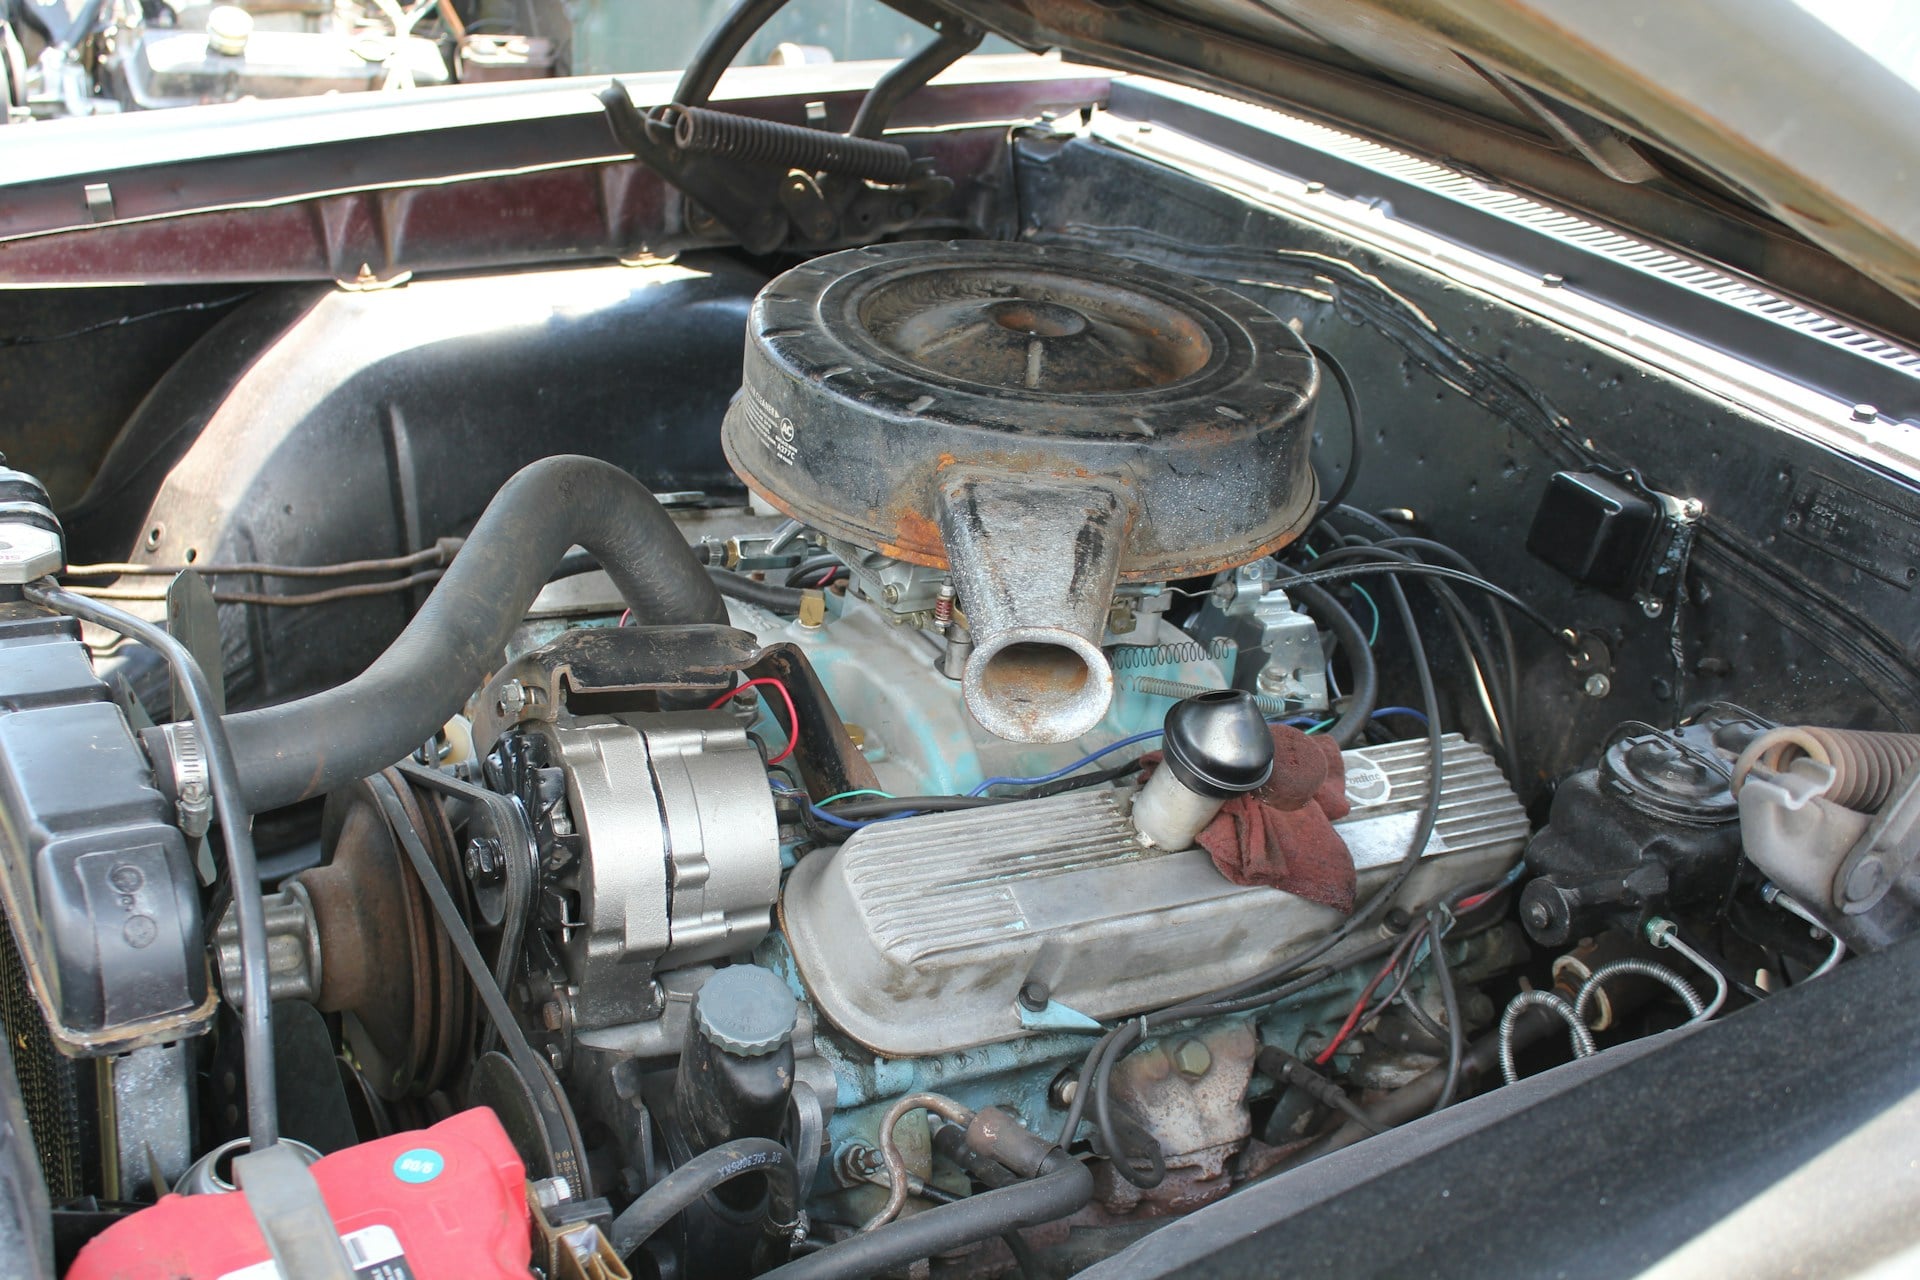
We’ve seen over and over again how much smoother an installation is when the parts are clean and dry ahead of time. Greasy, oily components are harder to align and will often need retightening because nothing grips quite right. It takes more time upfront, but cleaning combined with proper storage often prevents bigger problems later.
Spring weather in Houston brings more moisture in the air, so it doesn’t take long for metal parts to start showing rust again. Even after drying, give parts a light wipe now and then before use. Keeping up with this small habit keeps your workspace cleaner, your tools safer, and your parts ready when you need them.
Keep your projects on track and ensure smooth installations by exploring quality salvage car parts in Houston. At Airline Auto Parts, we’re dedicated to providing you with reliable components for every repair. Don’t let unclean parts slow you down—check out our selection of salvage car parts in Houston to handle your next project with confidence. Get in touch if you need assistance finding the right fit for your vehicle!
May 31, 2026 Spotting Tricky Repairs With Transmissio...
How Salvage Yards In Houston Handle Engi...

May 24, 2026 Checklist For Picking Used Parts In Hous...

Why Recycled Car Parts Work Better Durin...

May 17, 2026 Everything To Know About Second Hand For...

How Used Auto Parts Make Summer Road Tri...
May 10, 2026 Why Summer Brings More Demand For Used D...

What You Might Miss When Buying From Car...

May 3, 2026 Guide To Houston Summer Repairs Using Sp...

How To Match Used Car Parts To Your Make...