Mon - Fri: 8am - 5pm, Sat - Sun: Closed 281.448.2000 My Account
6 Month Money-Back Guarantee
Extended Warranty Available
We Ship Nationwide.
Hablamos Español.
DIY Transmission Installation.

News

DIY Transmission Installation

  • webmaster
  • Apr 25, 2019

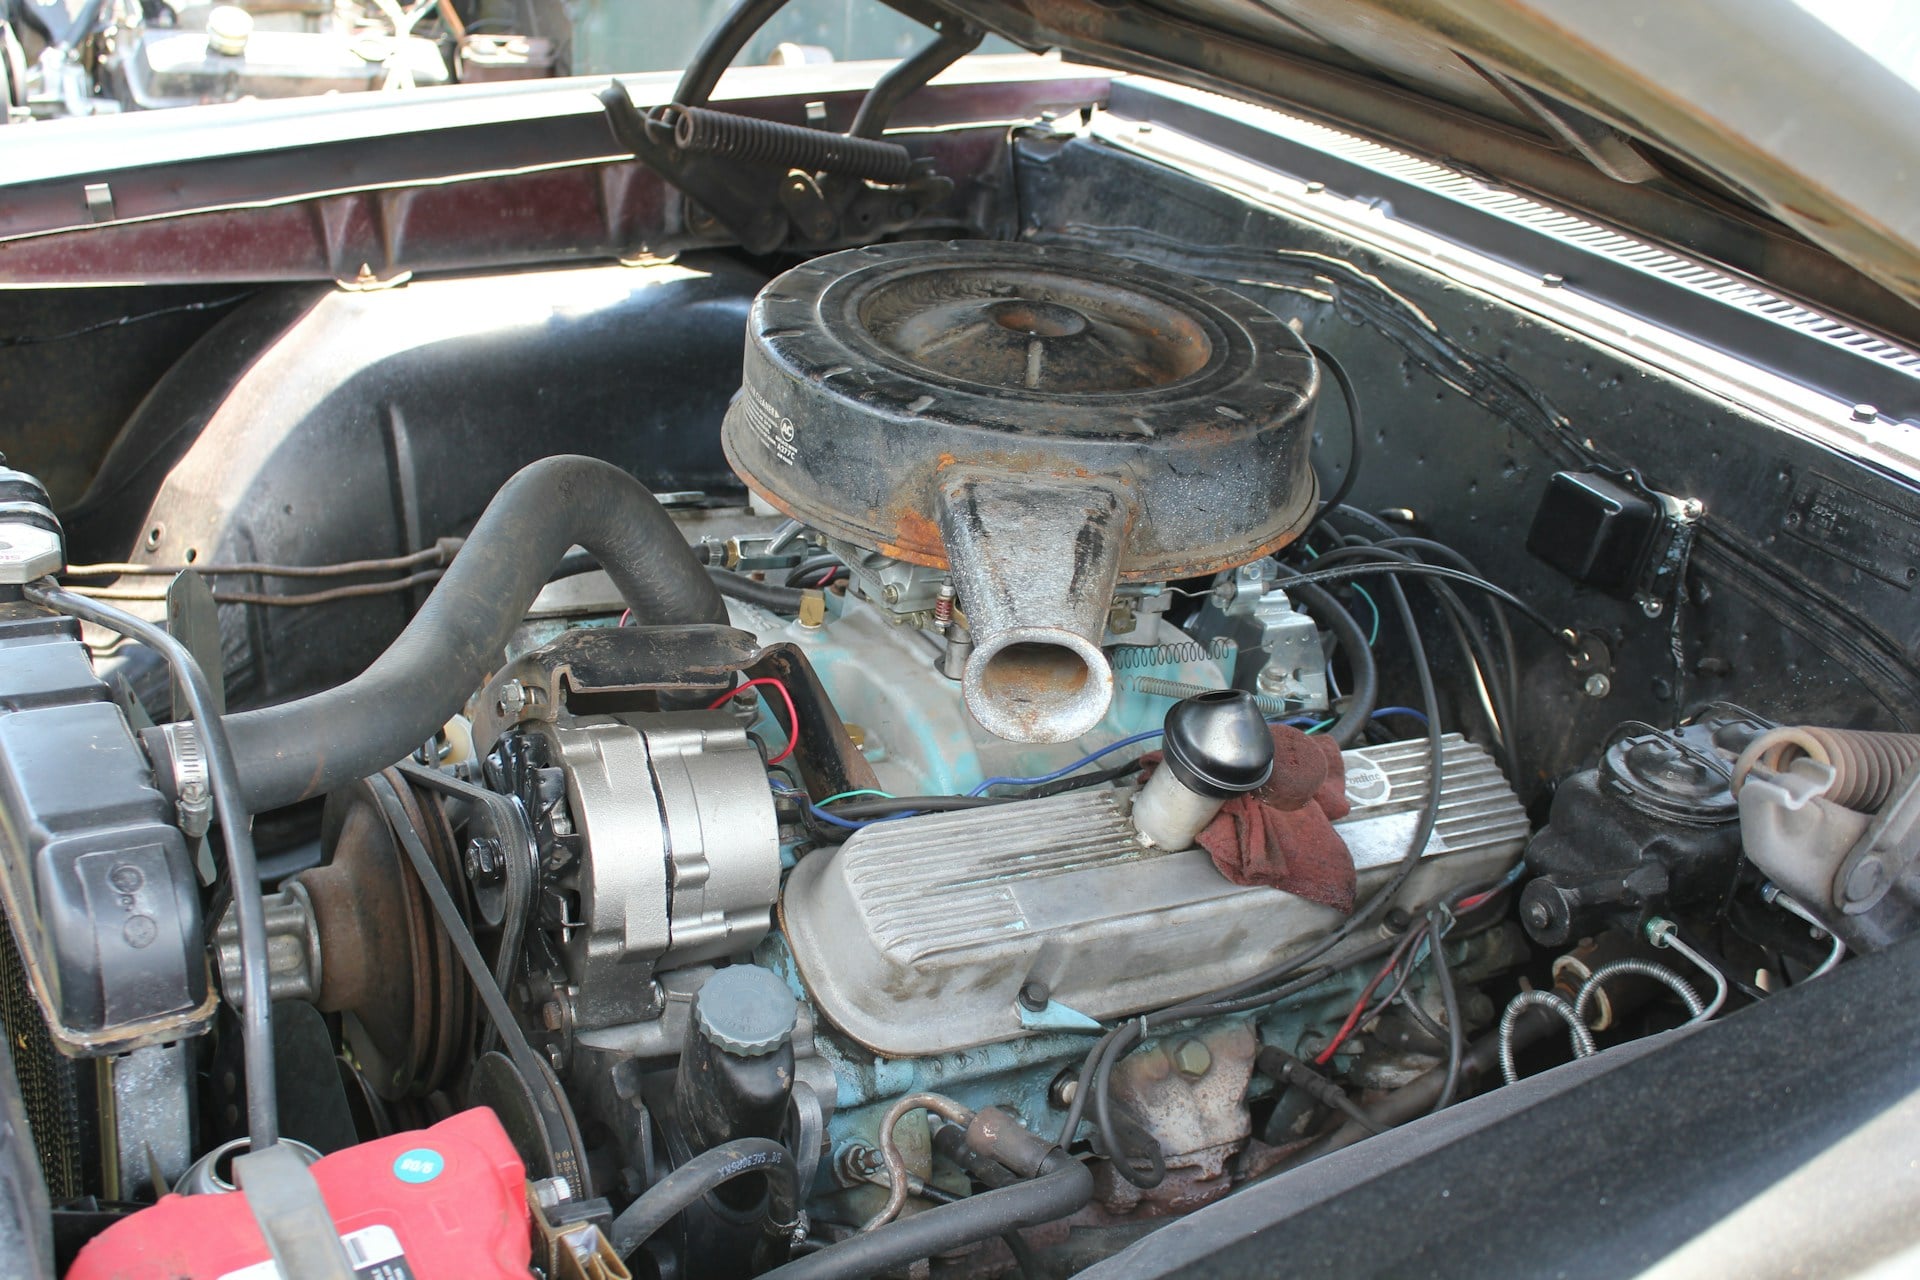
If you followed our steps in the previous post on how to successfully remove a transmission, you are ready to install the replacement transmission. Hopefully, you came to our Houston salvage yard and purchased one of our high-quality used transmissions to replace the old one. Purchasing a great used transmission from our Houston junkyard and installing it yourself can save you hundreds or even thousands of dollars. The following are general Do It Yourself guidelines to installing an automatic transmission:

  1. Using a jack, raise your automobile and secure it with jack stands.
  2. Install the torque converter (make sure to fill converter with one quart of transmission fluid before installation). Push and wiggle the converter until you feel three “clicks” each time the converter drops into place. This signals that the converter is engaged.
  3. Install transmission brackets.
  4. Clean off any dirt, grease, or burs found on the transmission bell housing and engine. *Note: transmissions purchased from Airline Auto Parts are already cleaned in advance.
  5. Lift up one side of the transmission and have someone else slide the jack under the transmission pan. Slide the jack under the vehicle. Position the jack so that when raised, the transmission bell housing will be slightly behind the engine.
  6. Raise the transmission and slide the jack forward until the bell housing touches the back of engine. Line up the dowels with the dowel holes and push the transmission forward. When the dowel pins are in the dowel holes, install the bell housing bolts.
  7. Line up the torque converter holes with holes in the flywheel and install the torque converter bolts.
  8. Install the starter. *Note: Get both starter bolts started before fully tightening the bolts. 
  9. Attach all electrical connectors and vacuum hoses. 
  10. Install the transmission oil filler dipstick tube and new filler tube O-ring.
  11. Install cooler lines, shifter linkage, exhaust, flywheel/flex-plate cover, cross member and then driveshaft.
  12. Remove the jack from underneath the vehicle. Jack up your automobile and remove the jack stands.  Lower your automobile to the ground.

Find Everything You Need At Our Houston Salvage Yard

In addition to cleaning and testing all of our used parts in advance, another great thing about purchasing from Airline Auto Parts is that we back our parts with a 6-month guarantee. Therefore, purchasing from our reputable salvage yard will not only save you money, but give you peace of mind as well. If you are looking to purchase a great-working used transmission or have any questions regarding the installation process, do not hesitate to contact us today. We are your one stop shop for great used auto parts!

Leave a Reply

Your email address will not be published. Required fields are marked *

Facebook Feed

Recent Post

  • July 27, 2025 Top Indicators of Transmission Trouble Y...

  • The Advantages of Using Salvage Parts fo...

  • July 20, 2025 Common Mistakes to Avoid When Buying Use...

  • Why Consider Used Engines for Your Car?

  • July 13, 2025 Understanding the Importance of Regular ...

  • Identifying the Right Time to Replace En...

  • July 6, 2025 Prolonging the Life of Your Diesel Engin...

  • How to Find Quality Second-Hand Parts fo...

  • June 29, 2025 Emergency Tips for Dealing with a Broken...

  • Maximizing the Value of Salvage Car Part...

Popular Tags.

Simple modal box